Setting up POSify
The video guide below outlines how to set up POSify in Shopify Admin and POS:
Step 1: Activate a subscription plan
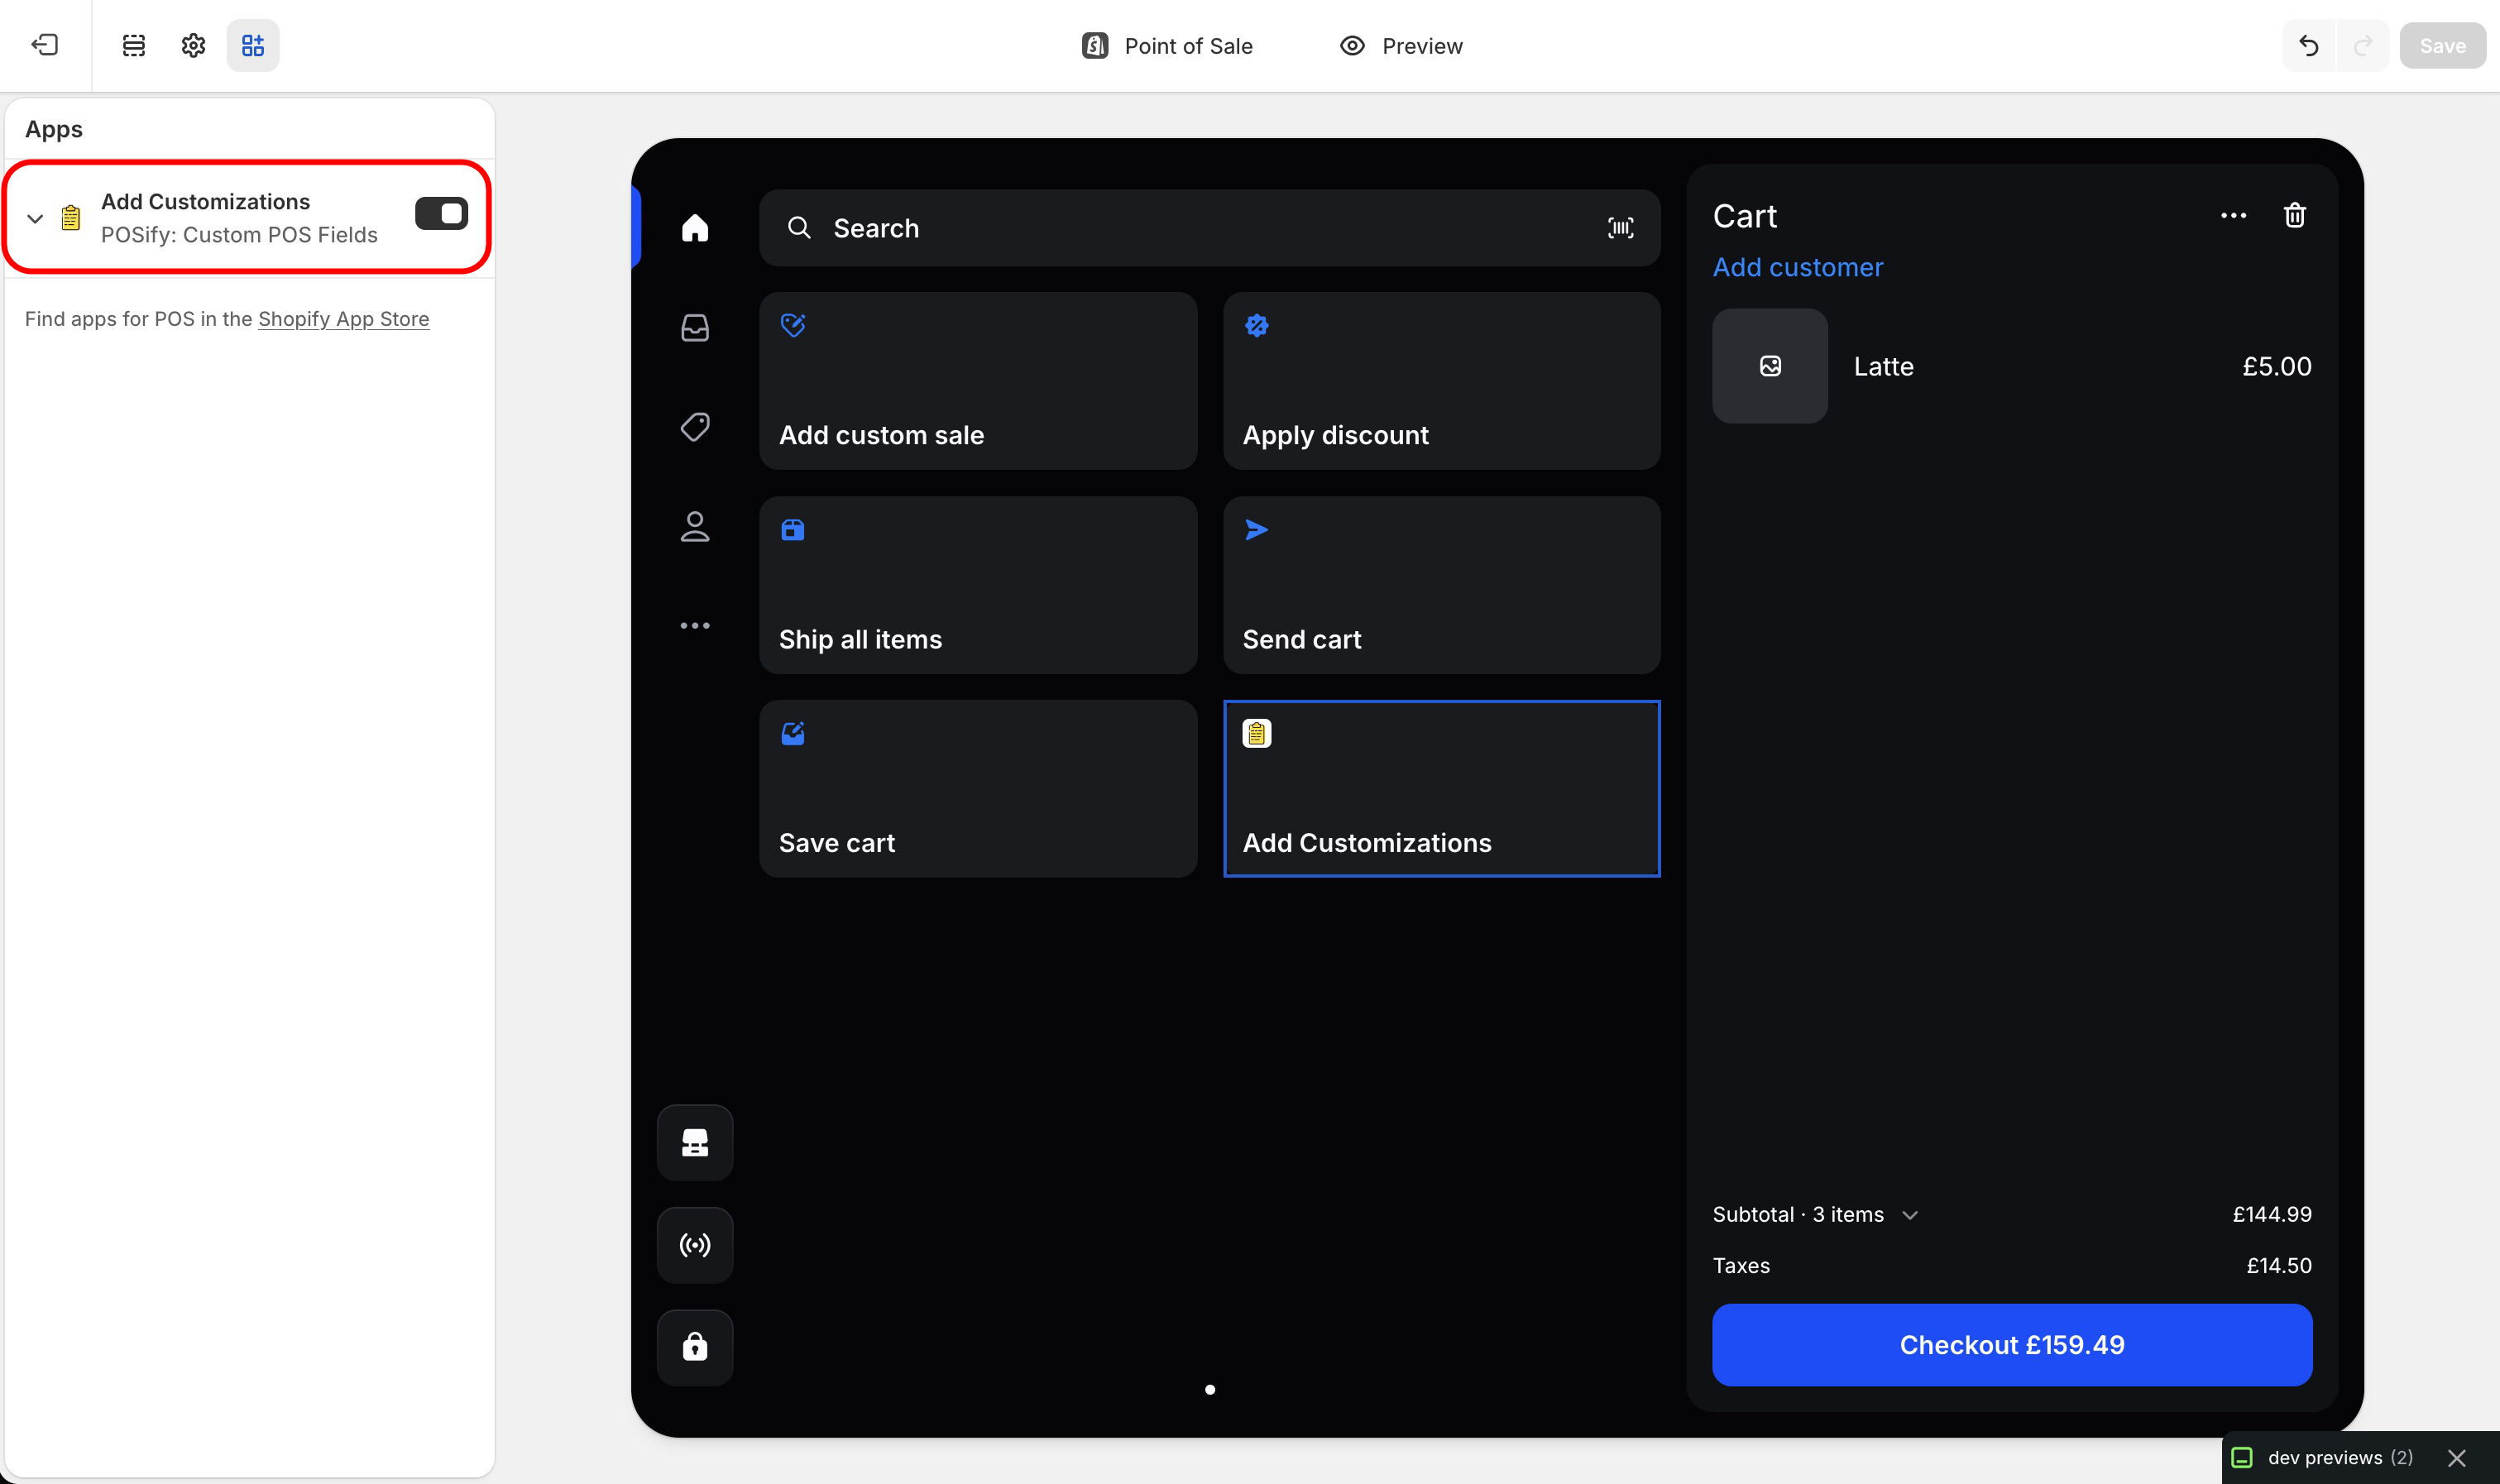
After installing POSify, you'll automatically be asked which plan you'd like to subscribe to. Select a plan, based on how many POS locations you'd like to have access to POSify, how many custom fields you need, and which specific features you require.
POSify requires all merchants to active a subscription to access customization features - each plan includes a 14 day trial to test POSify! Find our more about our subscriptions here.
Step 2: Select active locations
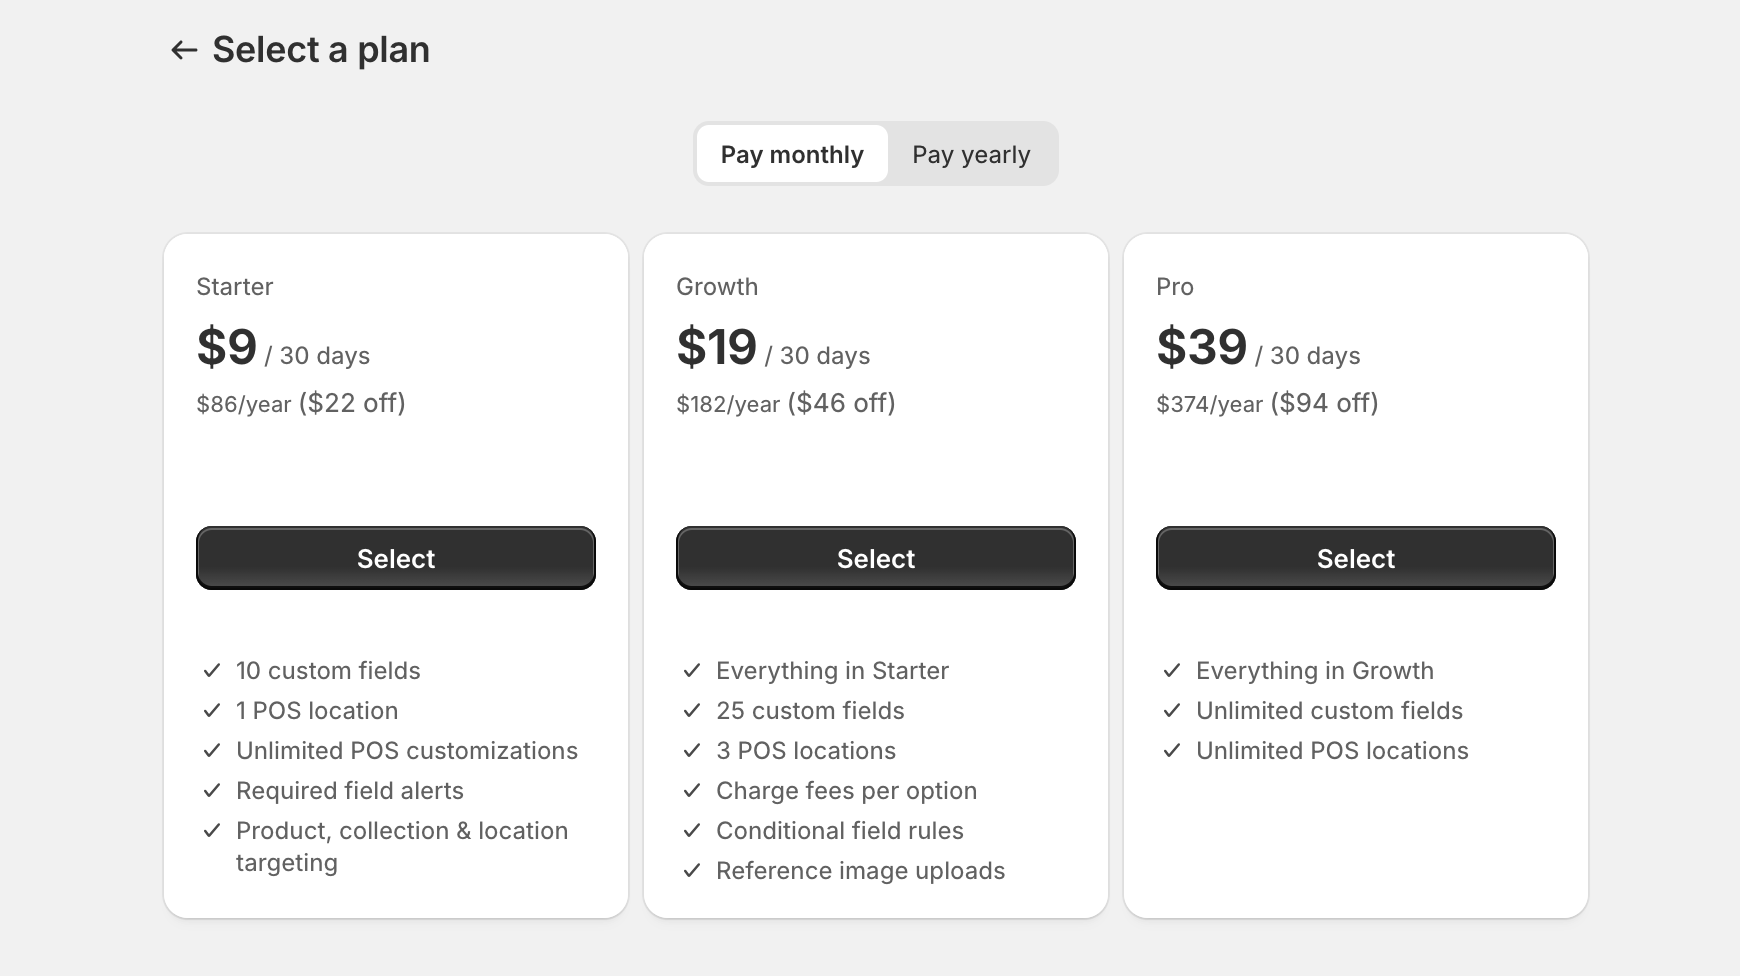
Choose the POS location(s) that will have access to POSify - the maximum number of allowed active locations is determined by your subscription plan.
Head to the Billing & Usage page in the POSify Shopify Admin app, and then click Select Locations. Select which locations you'd like to have access to POSify, and click Save Locations.

Step 3: Add POSify to you POS device
To use POSify, add the POSify Smart grid tile and additional area buttons to the Shopify POS app.
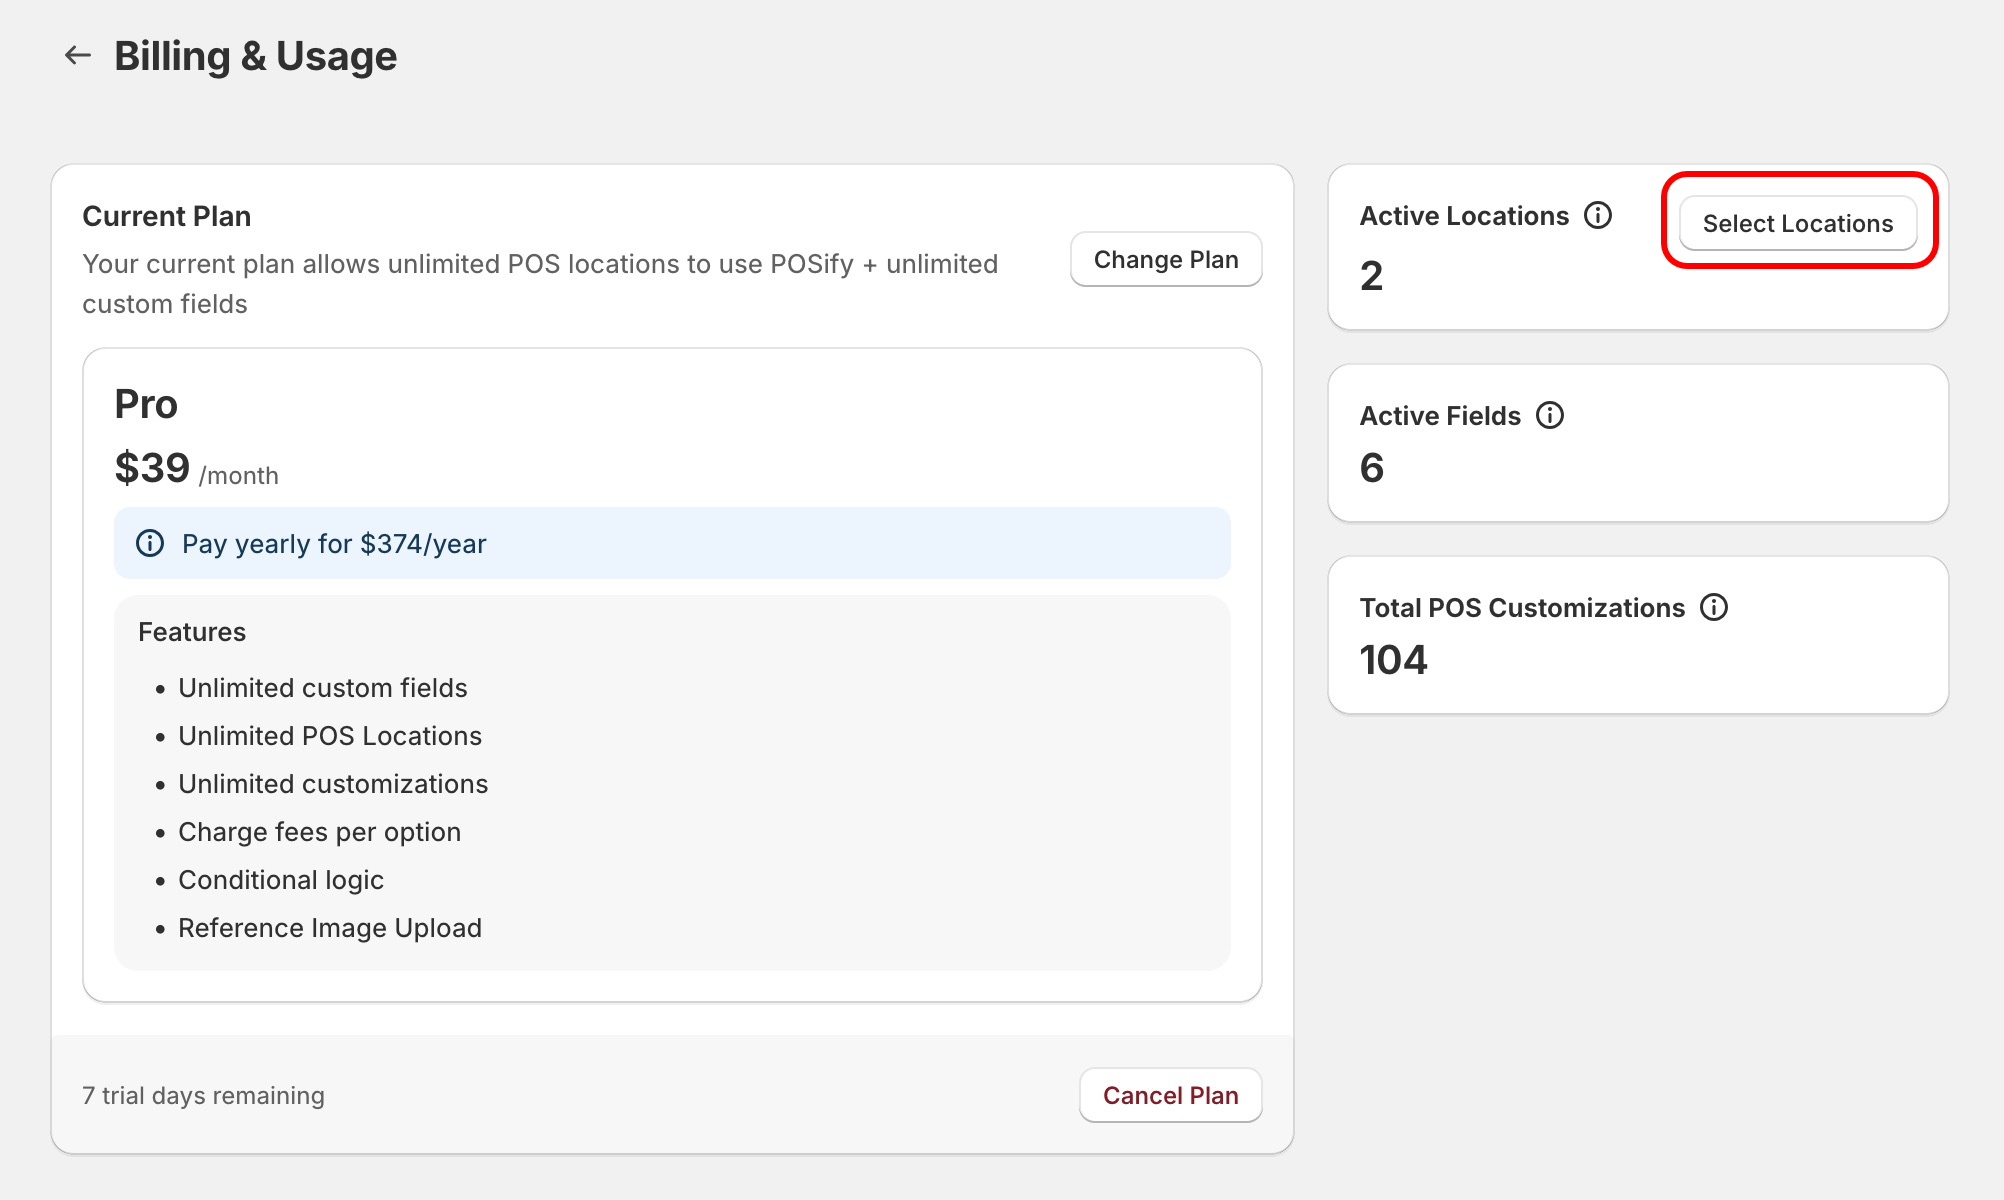
Head to the Settings page in the POSify Shopify Admin app, and then click Add to POS:
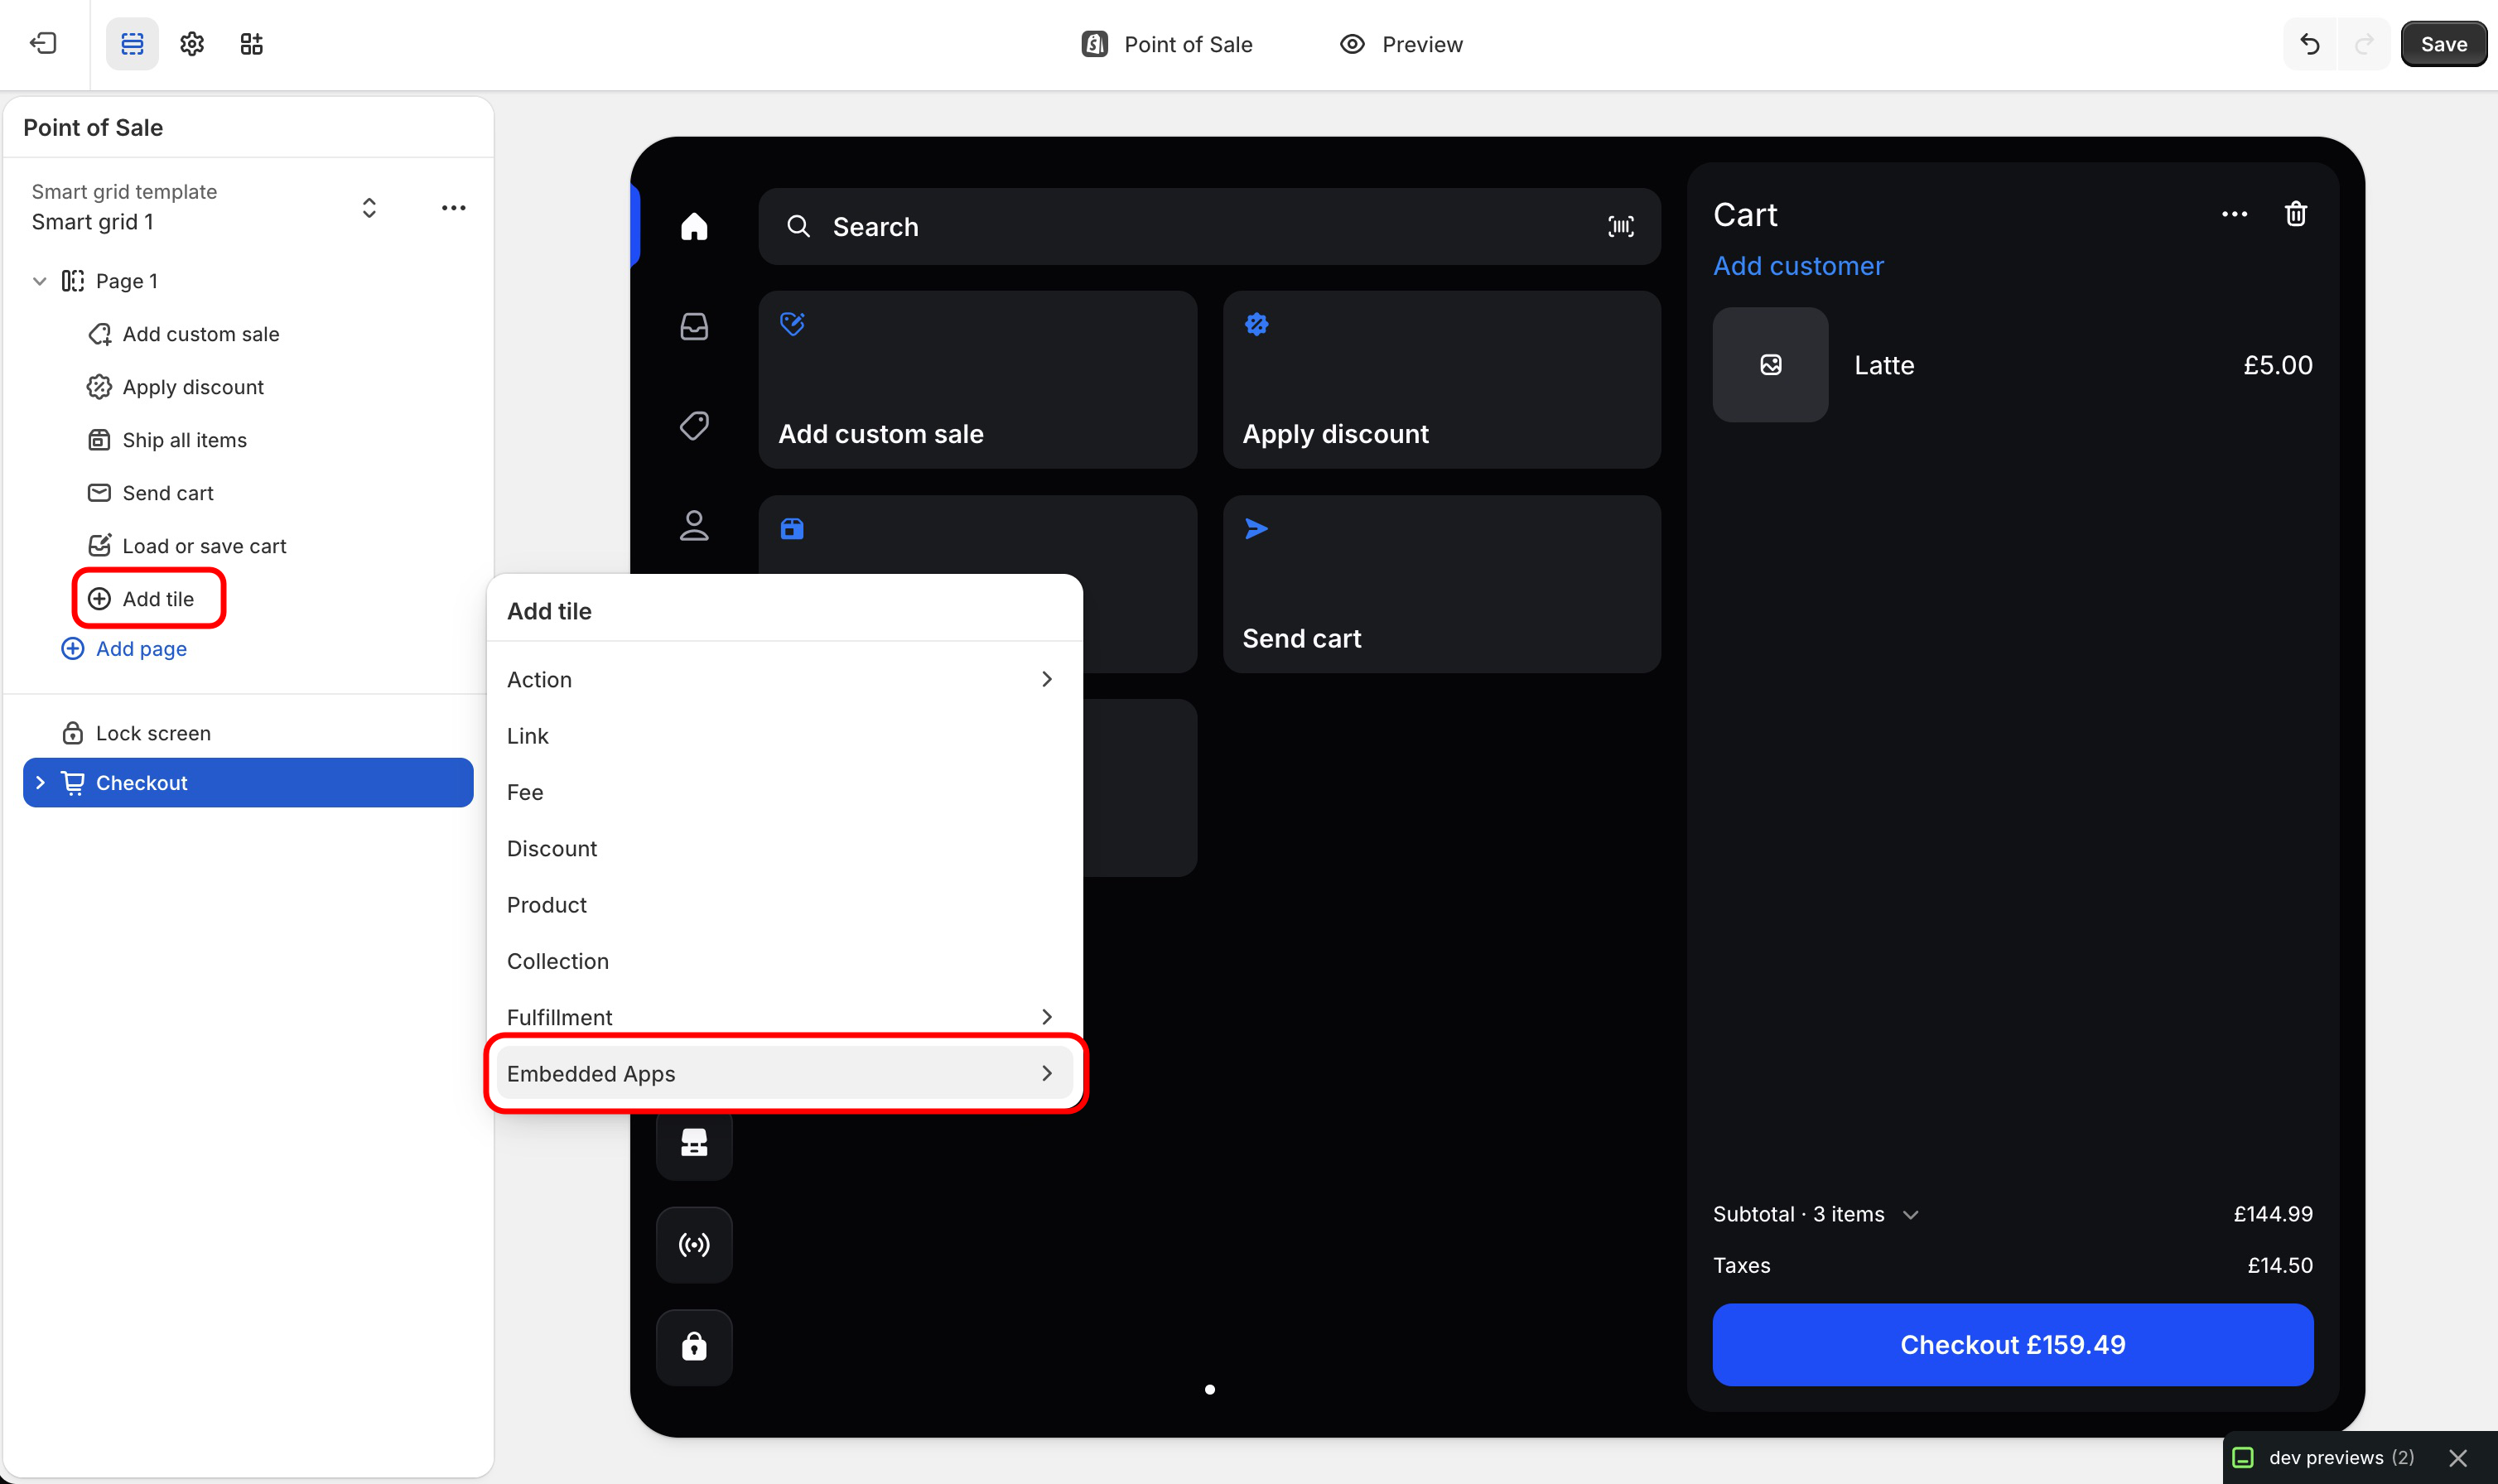
This will load the Shopify POS Smart Grid Editor. Open the Page 1 menu, click Add tile, then Embedded Apps:
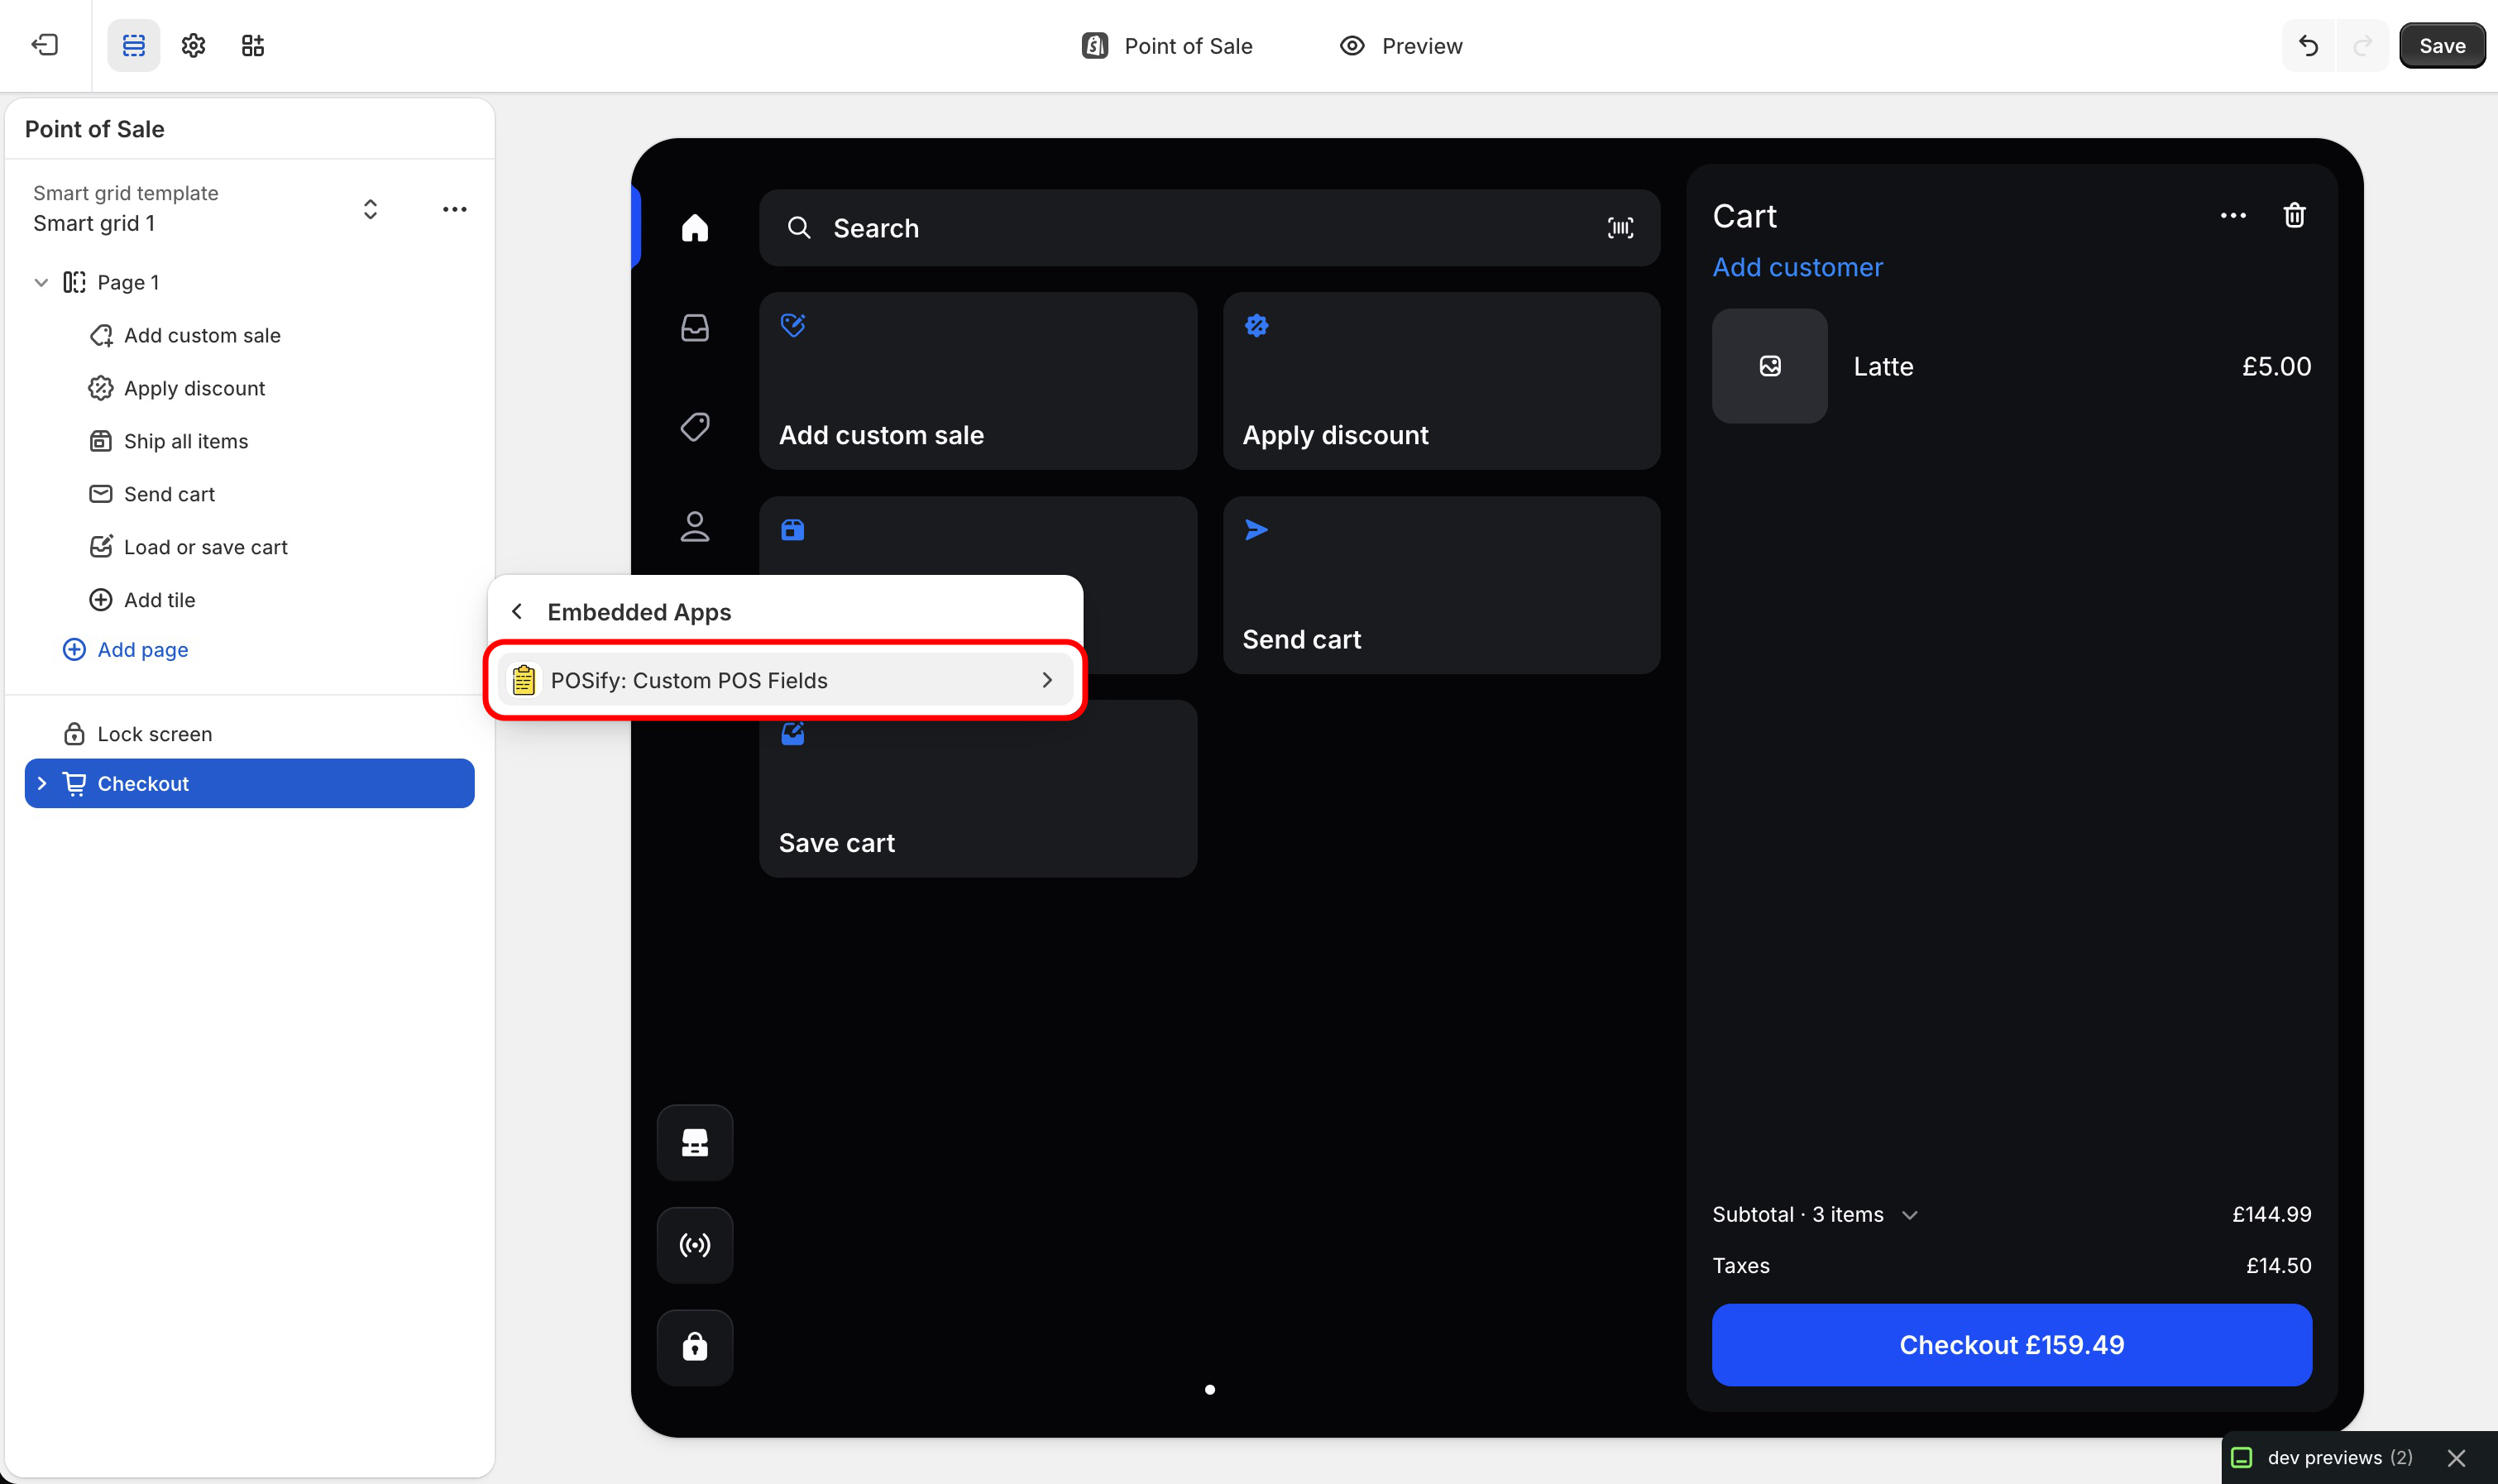
Select POSify: Custom POS Fields from the list of apps:
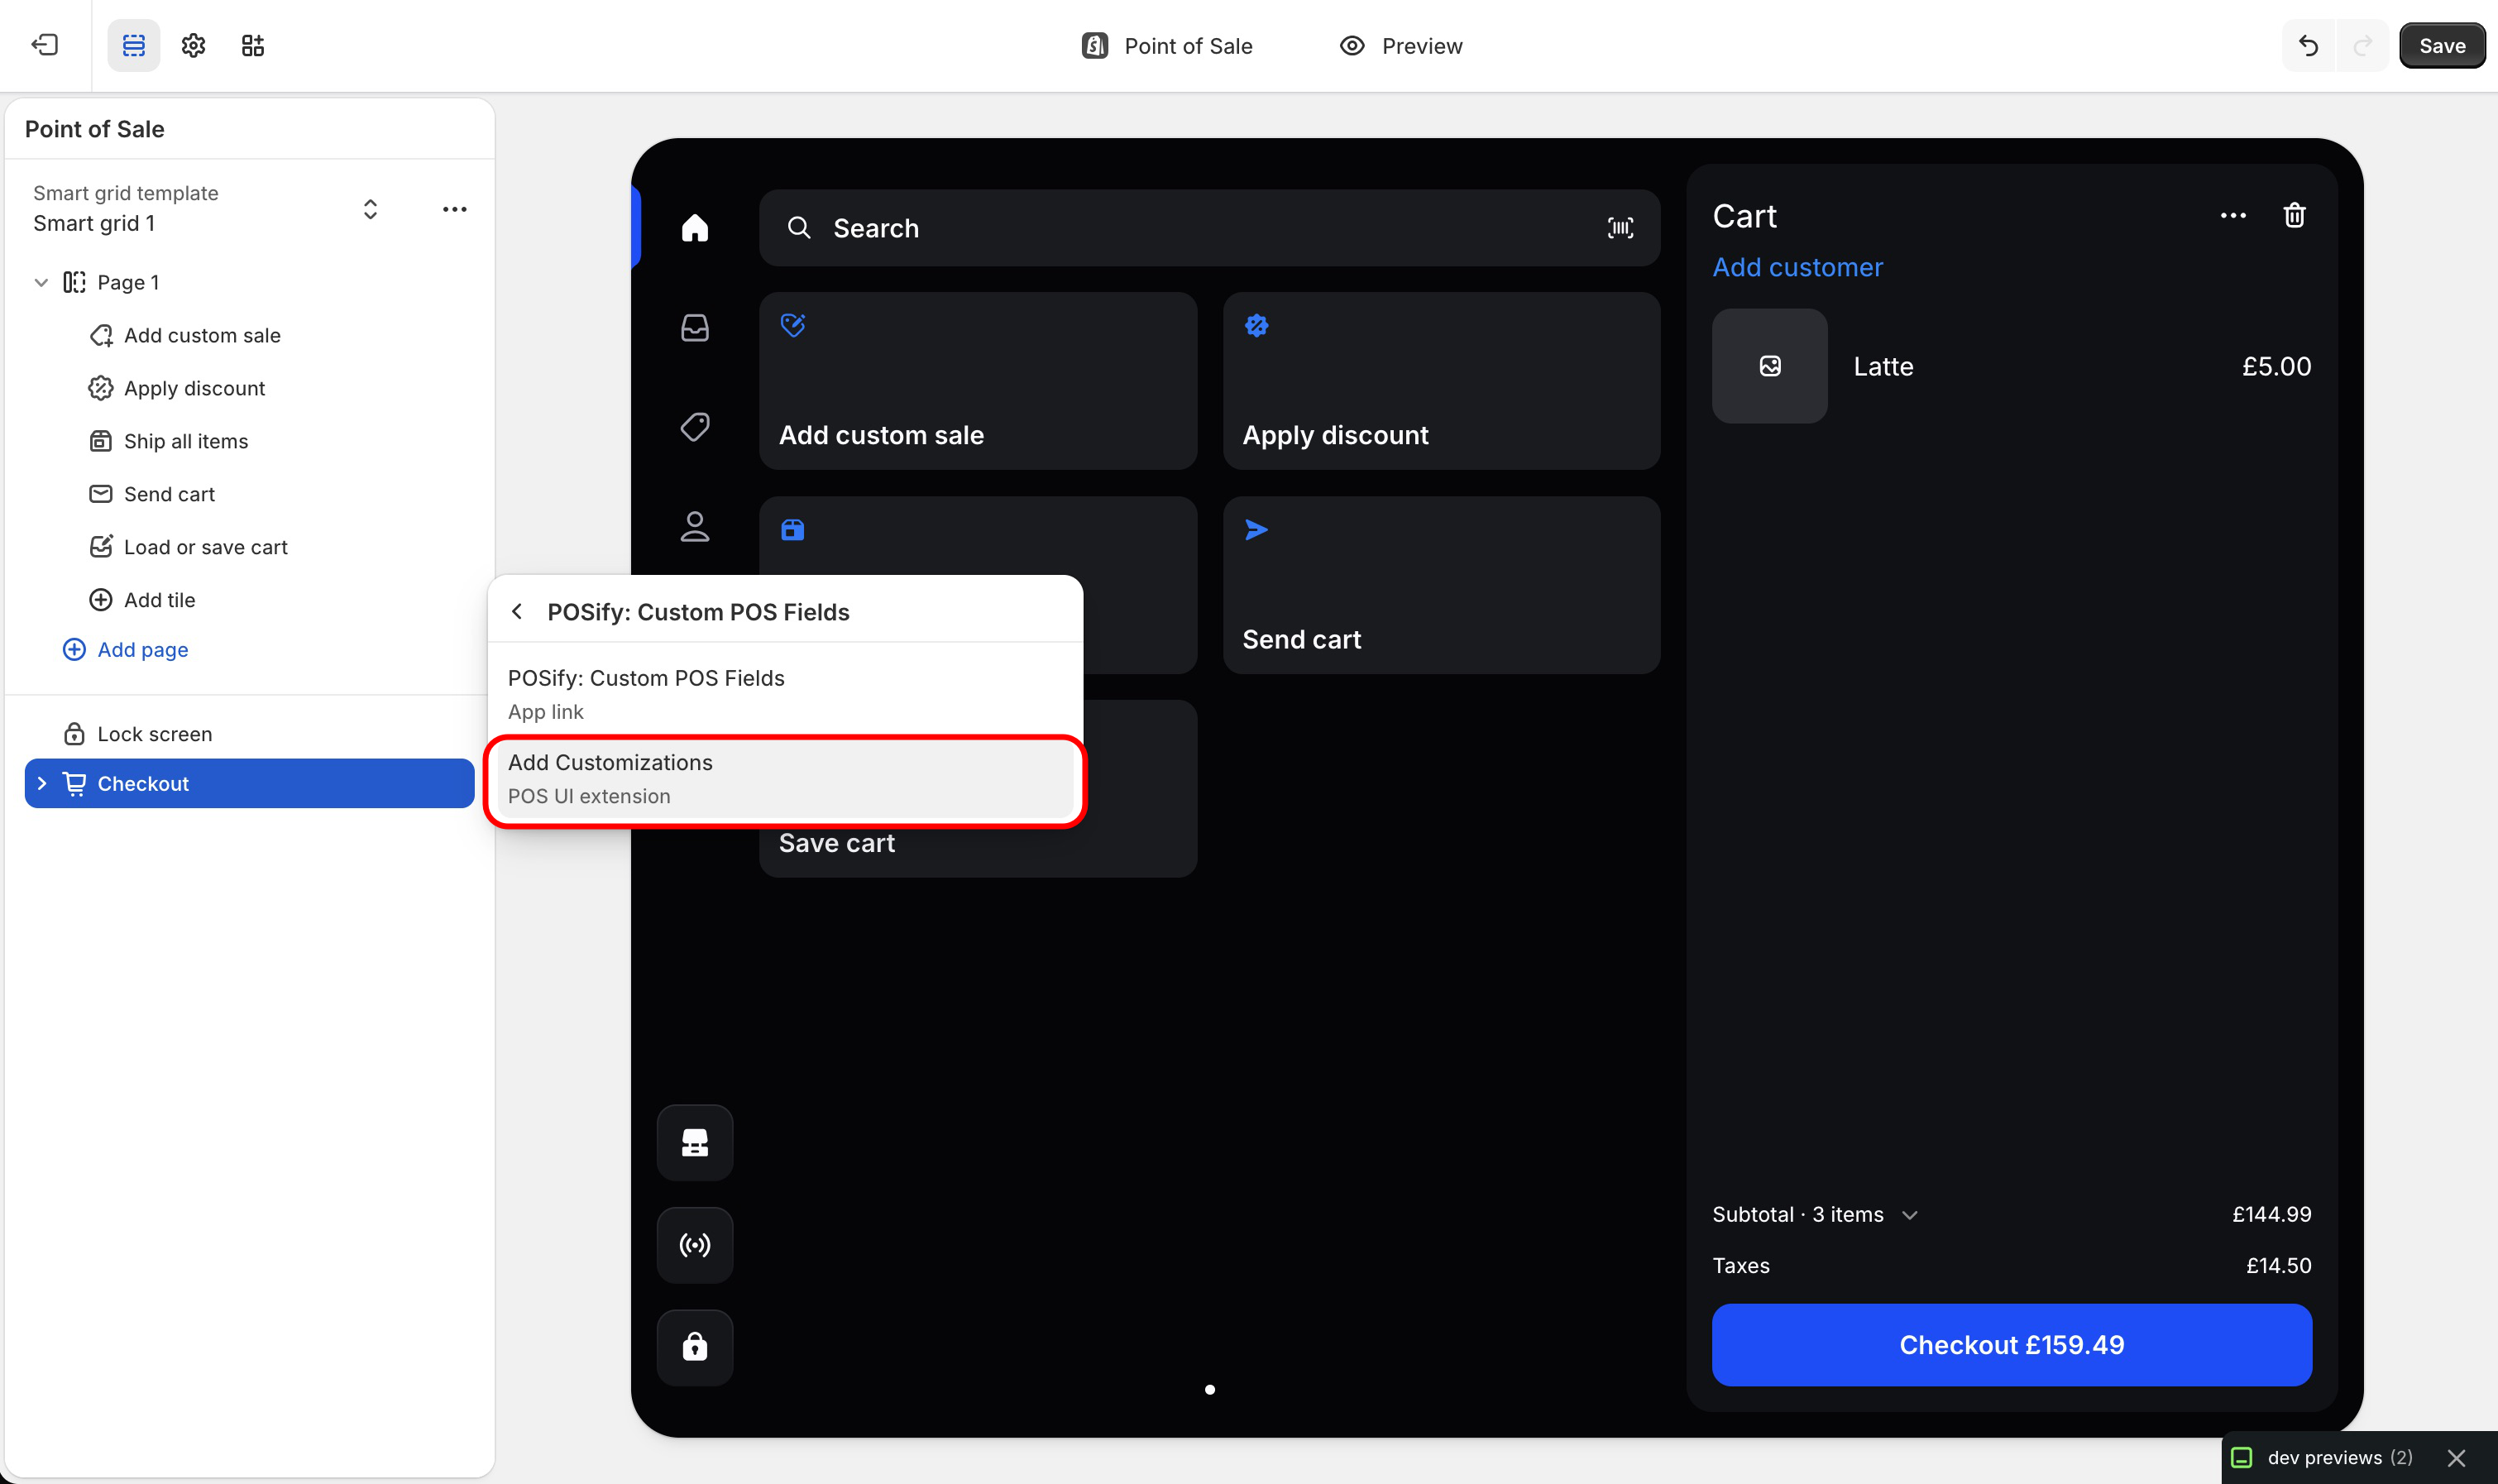
Click the Add Customizations option:
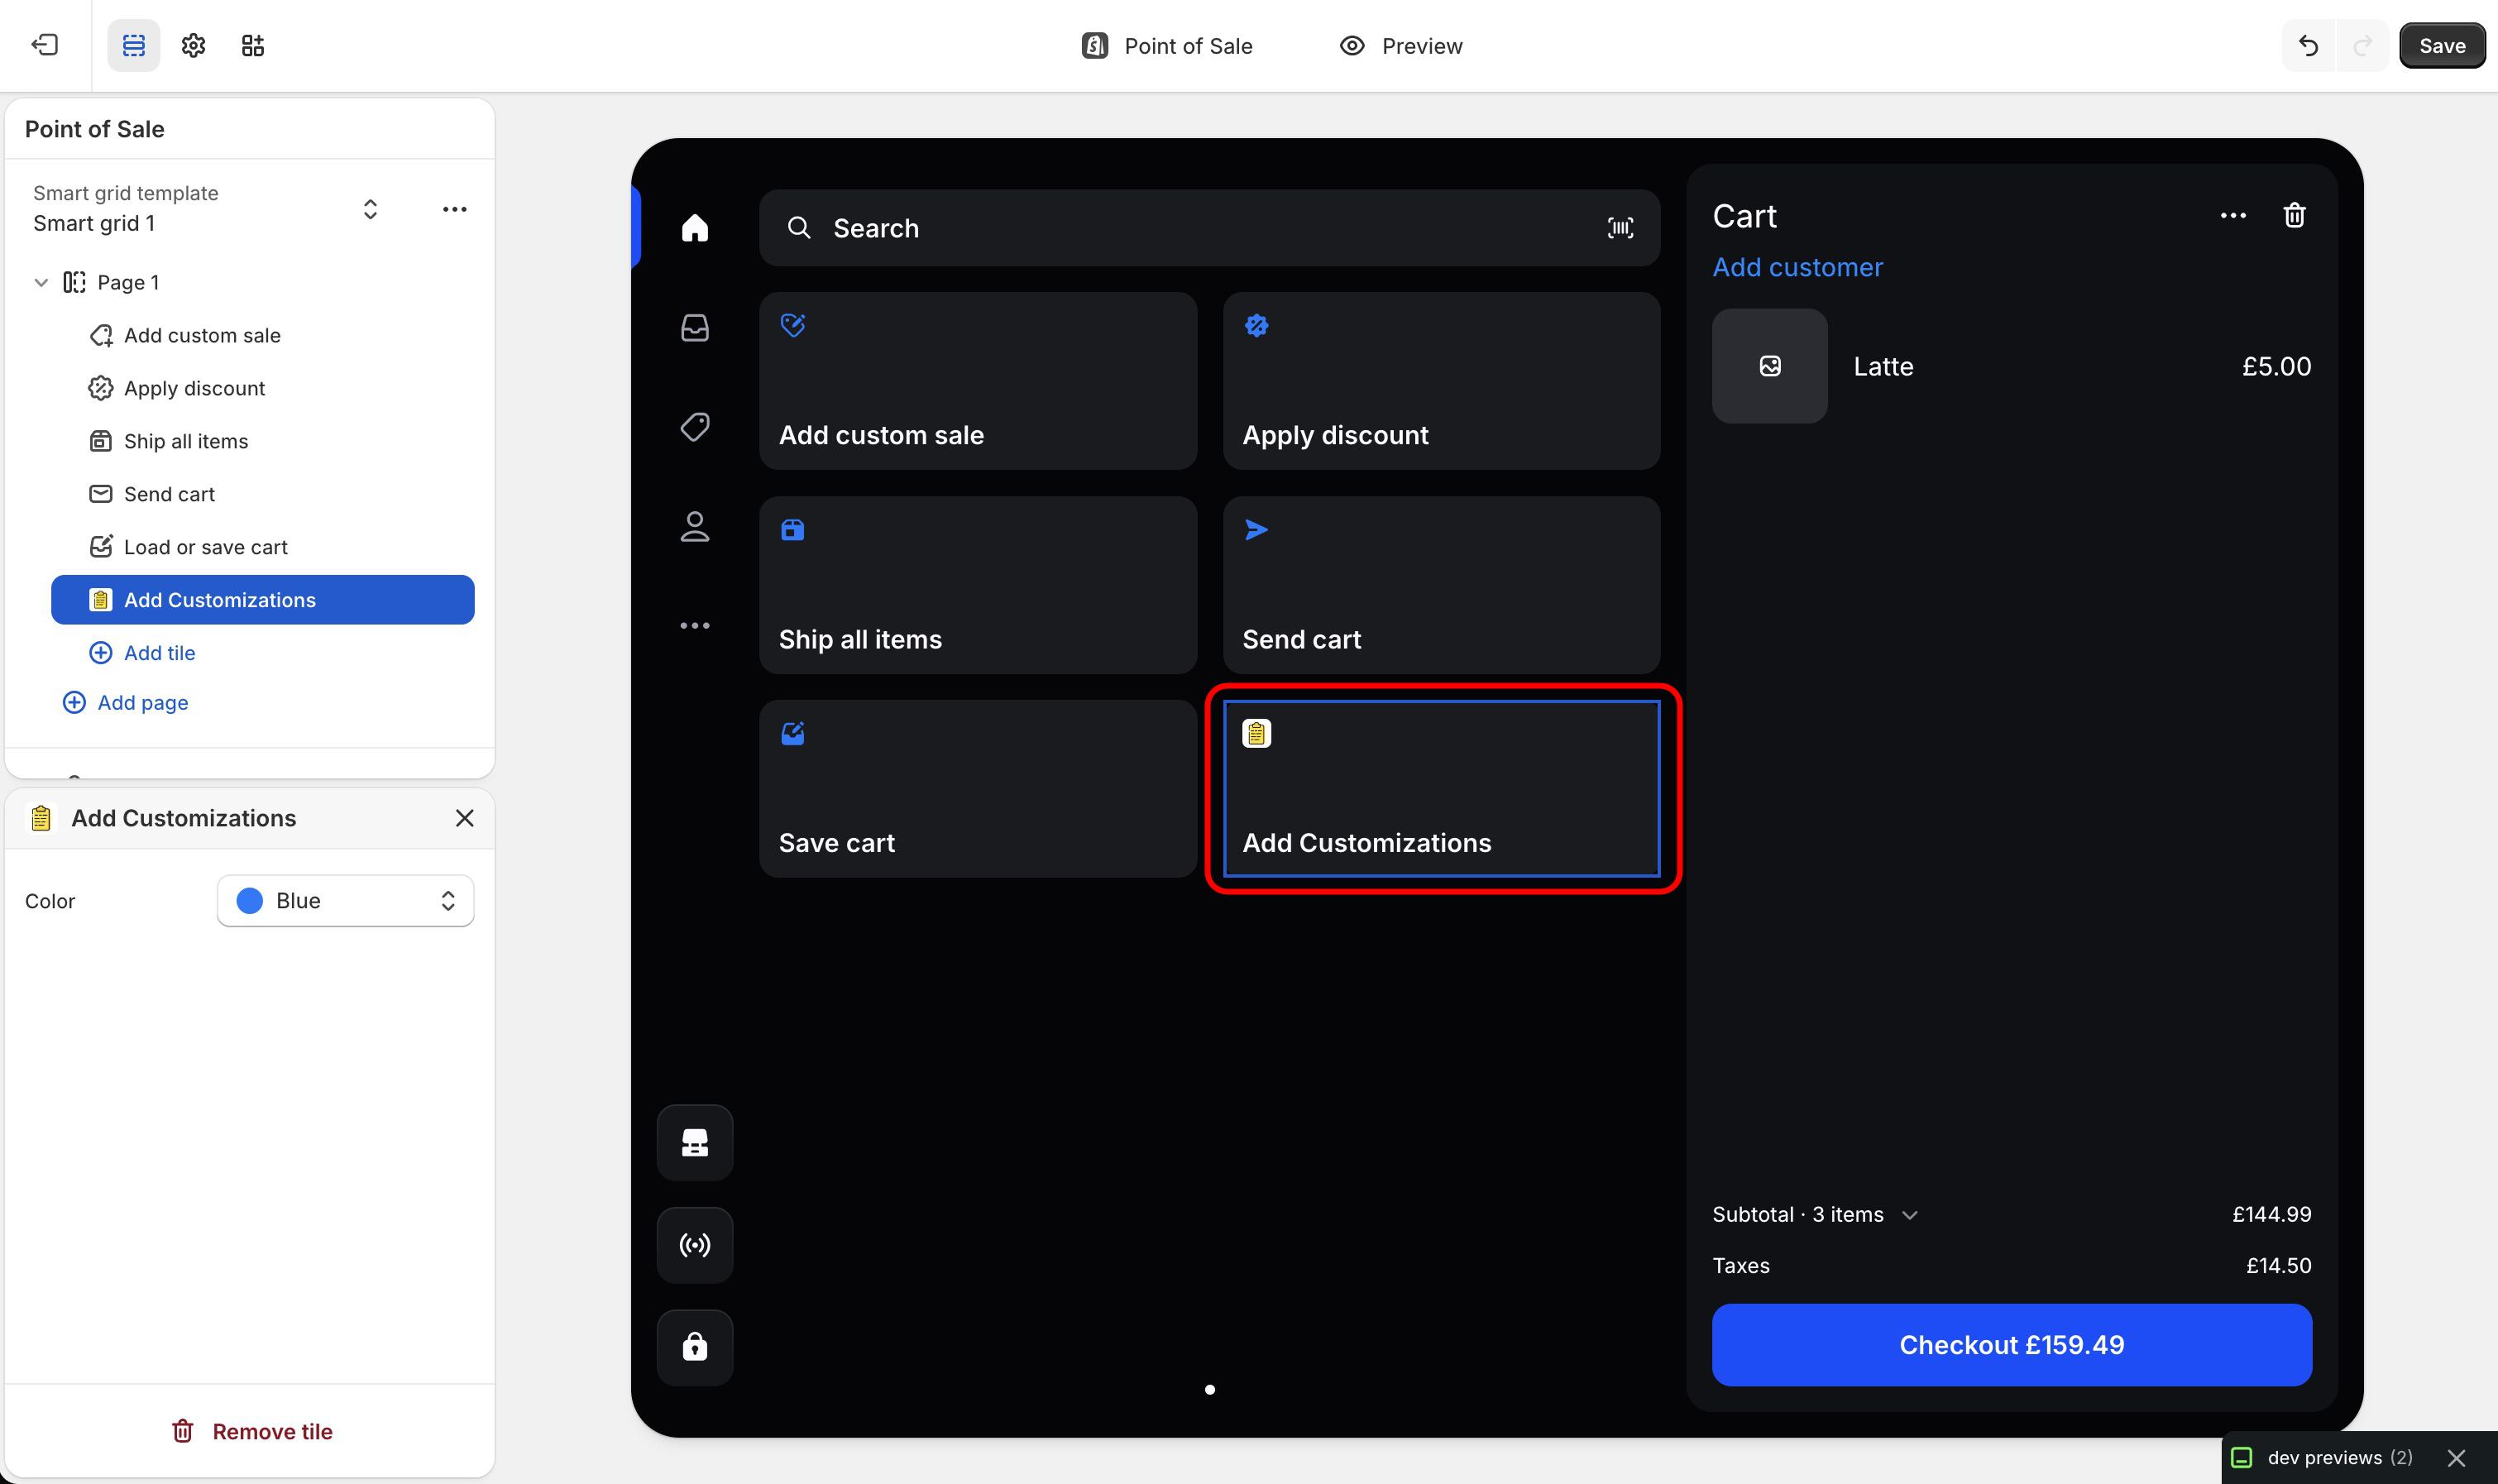
This will add the POSify POS Tile to you Smart Grid:
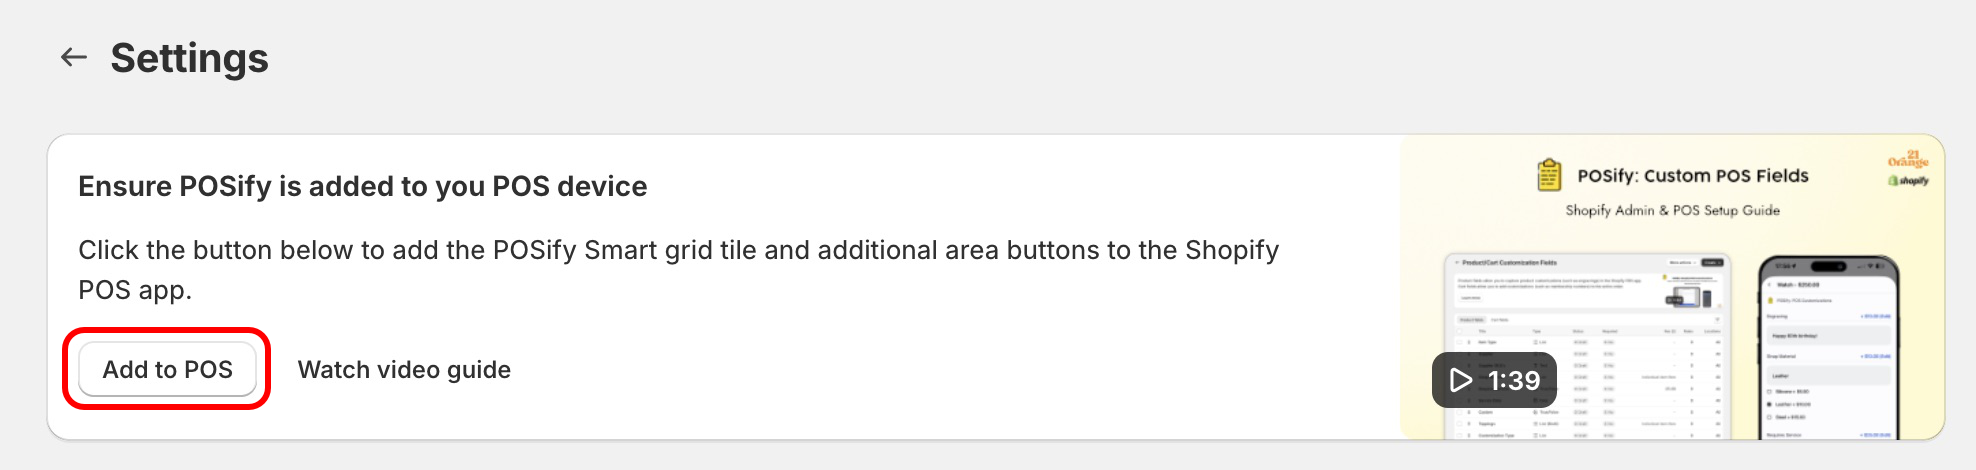
Next, click the Apps Settings button in the top left corner of the screen:
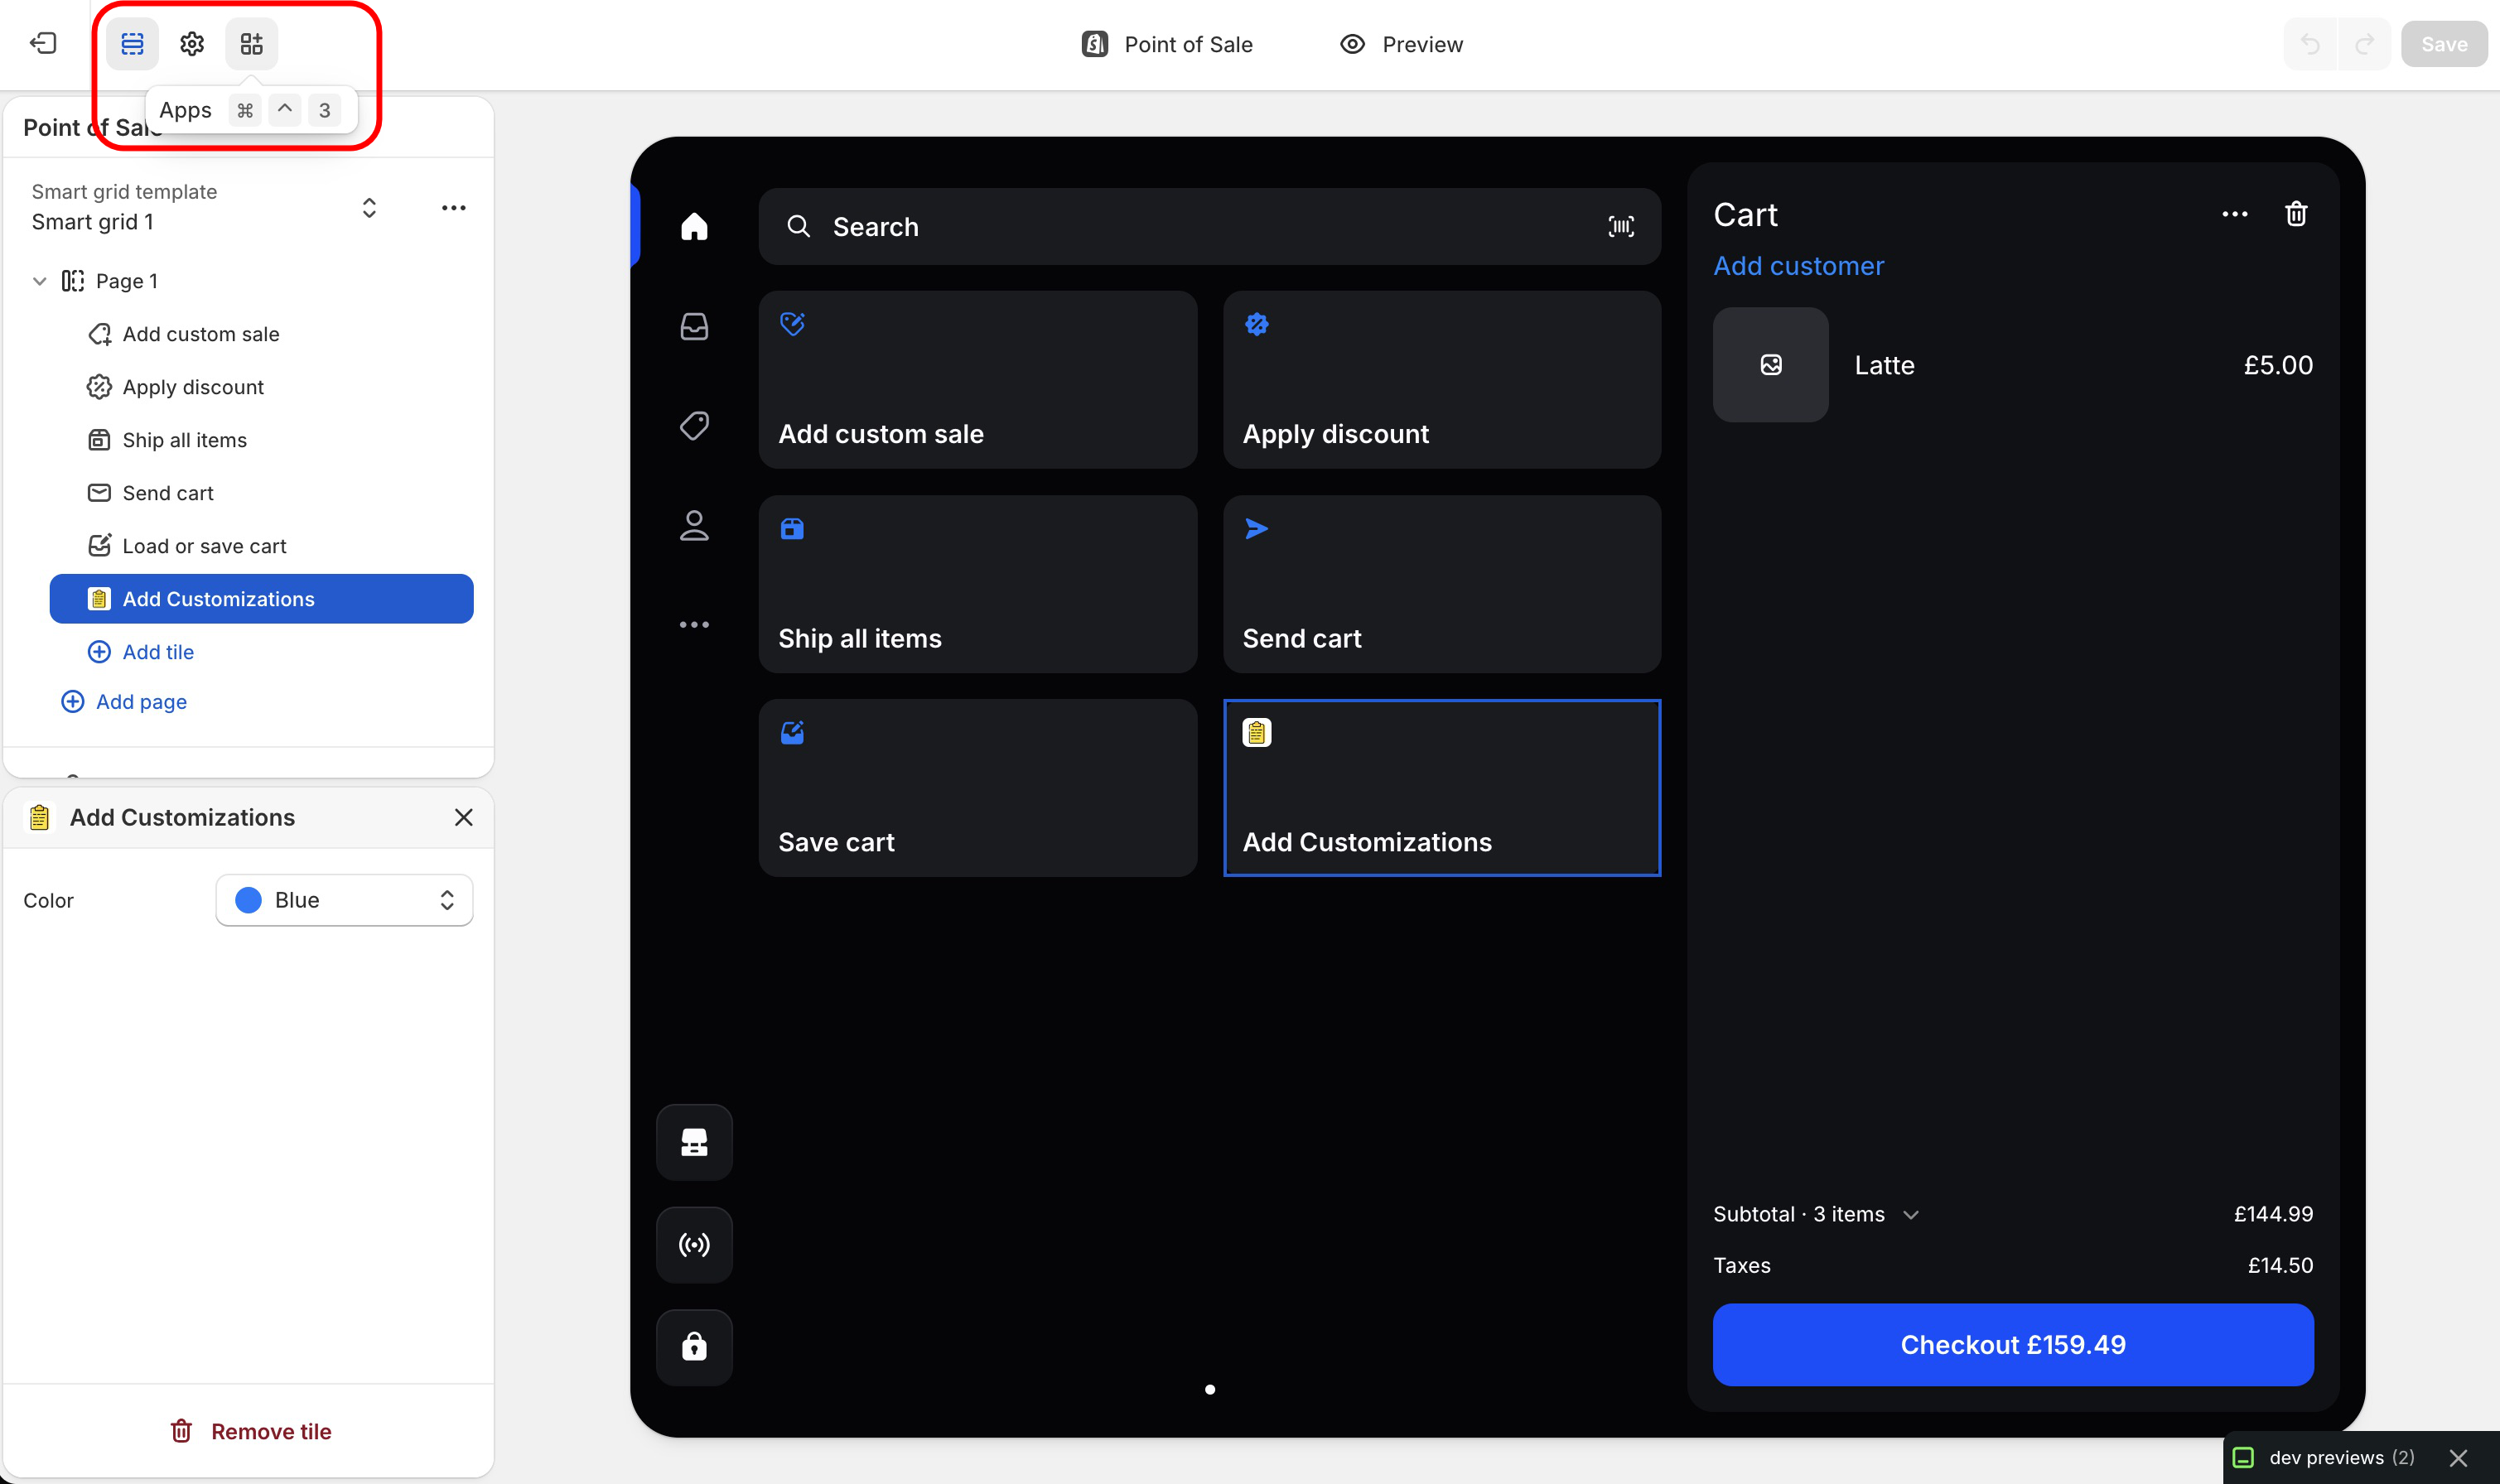
Finally, enable the toggle next to POSify: Custom POS Fields. This will add the extra POSify buttons in the Shopify POS app: